Implement an Auth Guard in Angular with canActivate()


Yesterday evening I was sitting idly in my dimly lit room, day dreaming about a vacation in the beautiful cities of Italy. Well, let's see. Rome is great, the ancient and aesthetic architecture and the history of the city makes it better than any other part of Italy.

.. until, you visit Venice. The amazing blue waters, a whole city supported on top of a sea and connected by just canals, no roads at all. DAMN!! The grand canal, the beautiful over head bridges...

and then I thought of Tuscany. And it was at just this time I realised that I have my delicious ice cream waiting for me in the freezer. I stood up, almost a jump from my bed, skipping through the rooms to my refrigerator only to find out that my brother has claimed that ice cream for himself already. There was nothing in the freezer. WAR!!
Well, it was my own stupidity, if I wanted to protect my ice cream, I should have kept it locked away in a safe, but in some vulnerable stupid freezer. Isn't that true for your Angular routes also?
Whenever you are creating an application in angular, there might be a number of routes added to it, some of these are important and secured routes that the user should access only when they are logged in. So, let's see how Angular helps us protect our routes with canActivate. In this ice-creamy article, we will look into auth protected routes.
Auth Protected Route: If the user requires to be logged in to your application to access a route, then that route is auth protected route.
Role Protected Route: If the user logged into your application needs to have a certain role(admin/super-admin) to access a route, then that route is role protected route.
Angular service can be easily used to create utility functions that will help us manage these permissions. Keep reading.
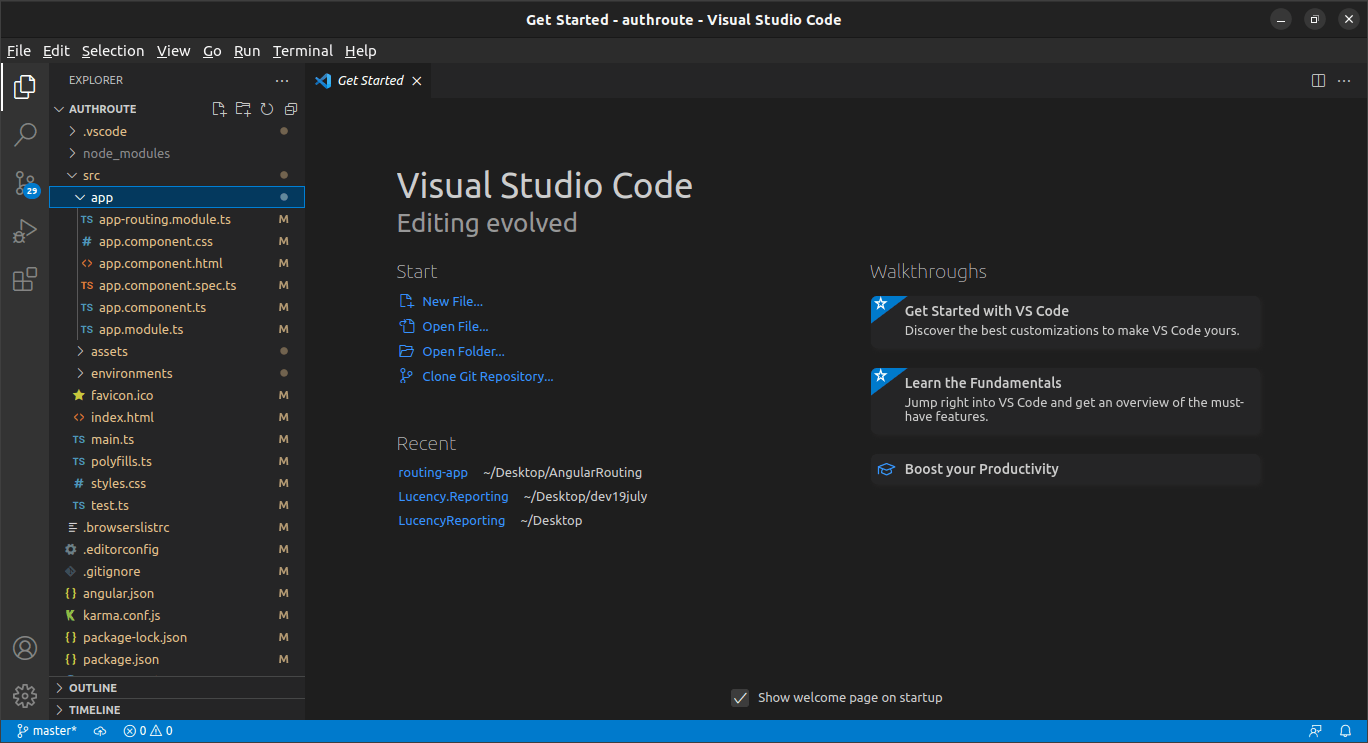
I assume you have already setup an angular project in your local to code along, if not, just do a ng new authroute --routing and get it ready. I already have my project ready and you can check the structure below. Just like any other newly conceived angular project.
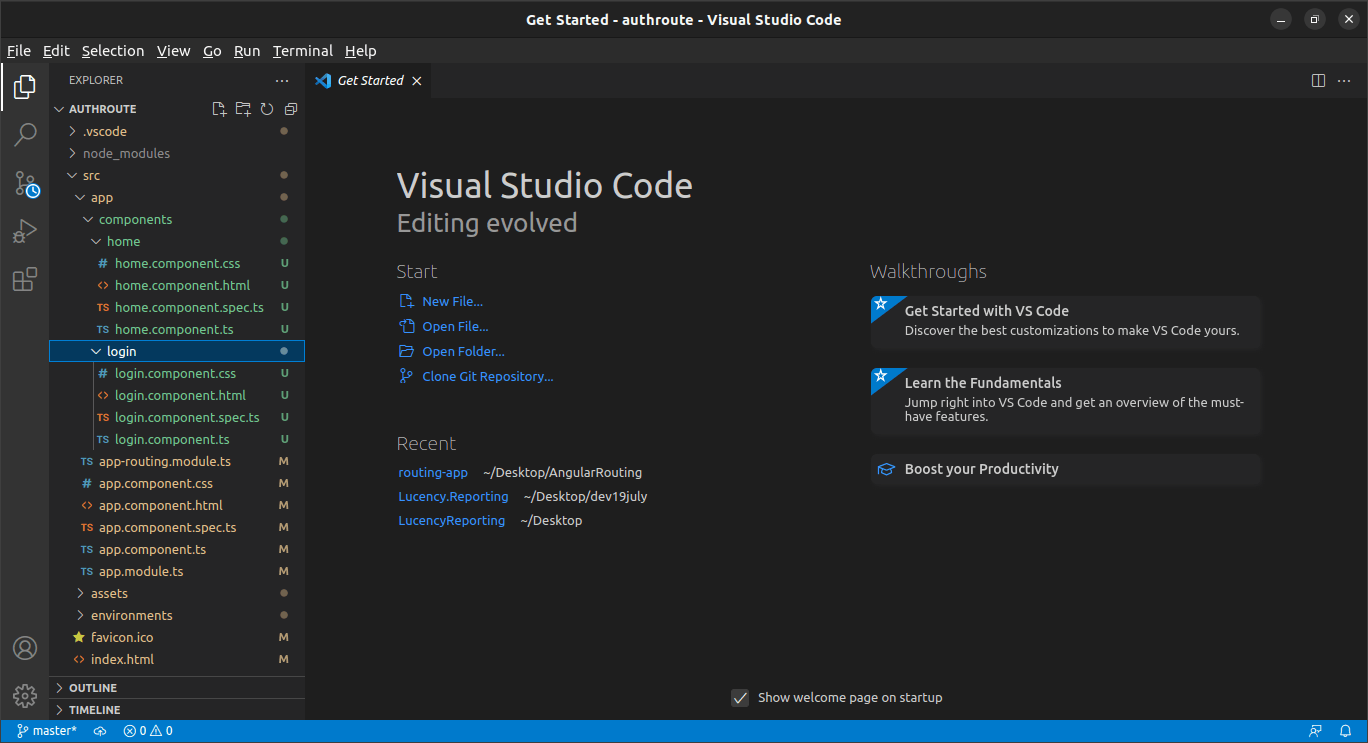
Step 1: Creating components
Now we need to create two components. One is the login component that will be displayed when the user is not logged in and the other is the home page component that will be displayed when the user is logged in. The user cannot access the home page component is he is logged out.
To create these components, run the good ol' commands below:
ng g c components/login
ng g c components/home
Also add these components to the app routes. And as you can see, at this moment, you can access both these routes. So, both the routes are unprotected.
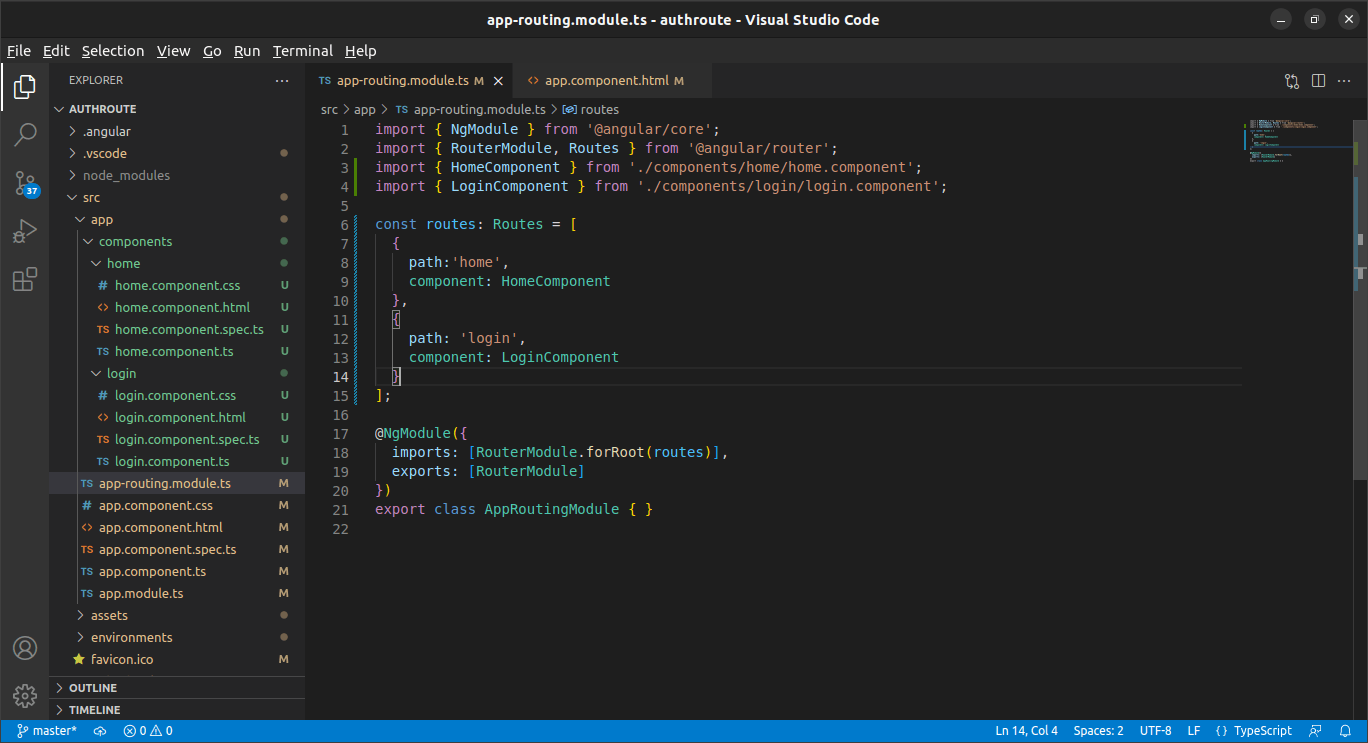

app-routing.module.ts
import { NgModule } from '@angular/core';
import { RouterModule, Routes } from '@angular/router';
import { HomeComponent } from './components/home/home.component';
import { LoginComponent } from './components/login/login.component';

const routes: Routes = [
  {
    path:'home',
    component: HomeComponent
  },
  {
    path: 'login',
    component: LoginComponent
  }
];

@NgModule({
  imports: [RouterModule.forRoot(routes)],
  exports: [RouterModule]
})
export class AppRoutingModule { }
Step 2: Create Basic Login Page and functions
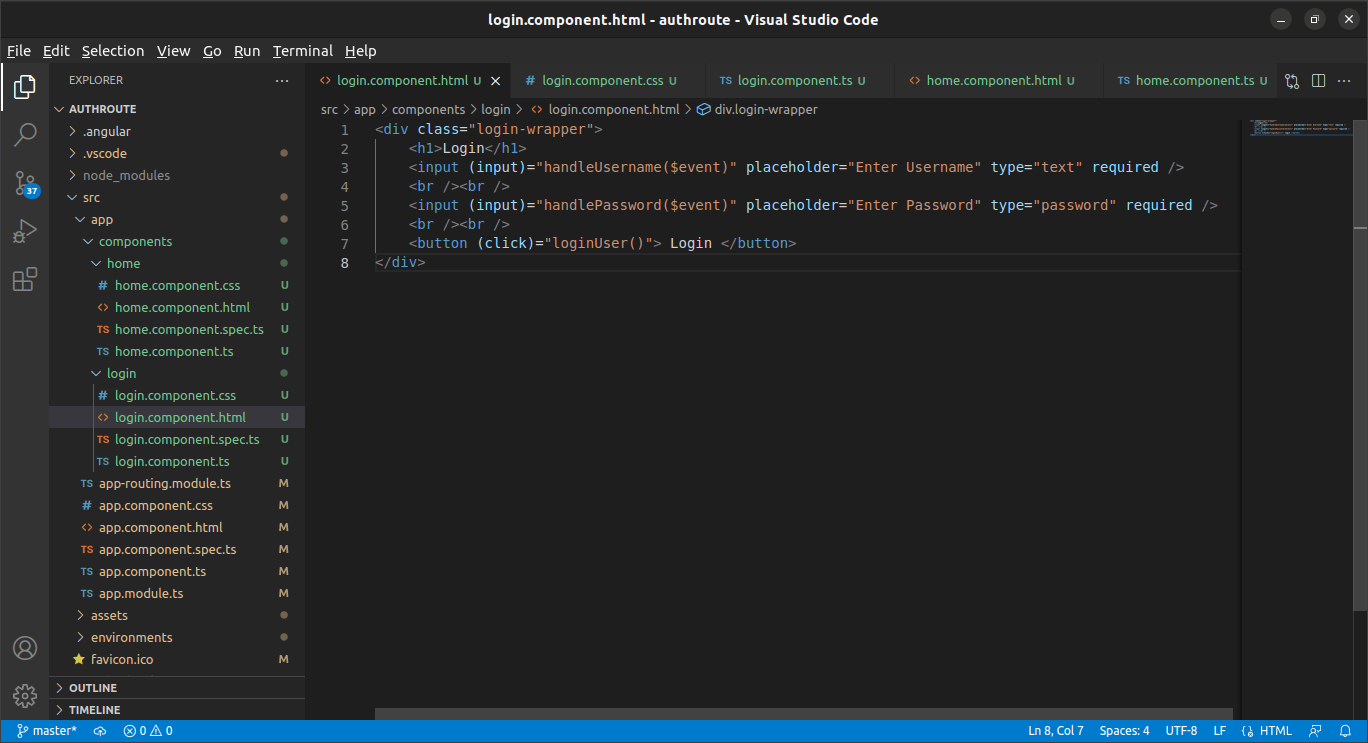
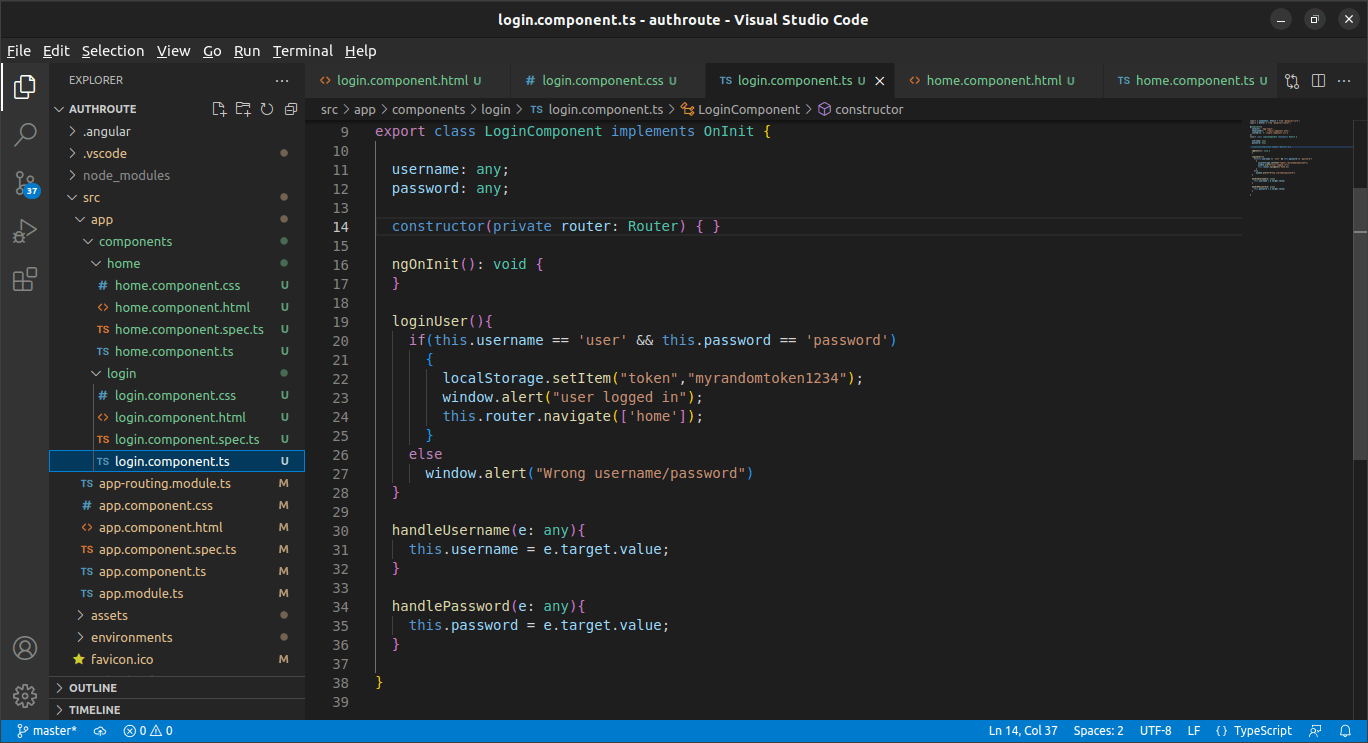
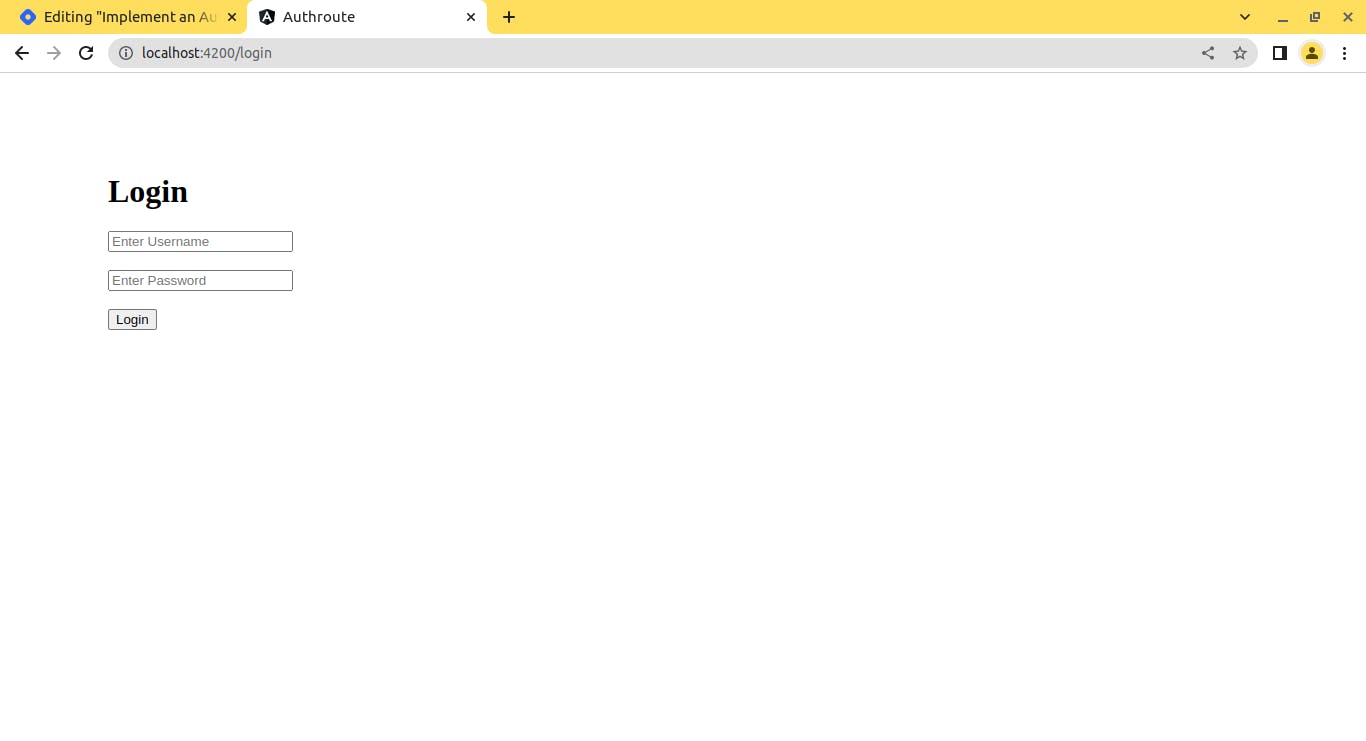
We are going to skim over this step very quickly as this is not the goal of this particular article. What we have is this: two inputs boxes, one for username, one for password, one login button, one function in our login component typescript file to login the user and store the role and token in the localStorage. Check the code below.
Login Component Code and demo
Home component code and demo
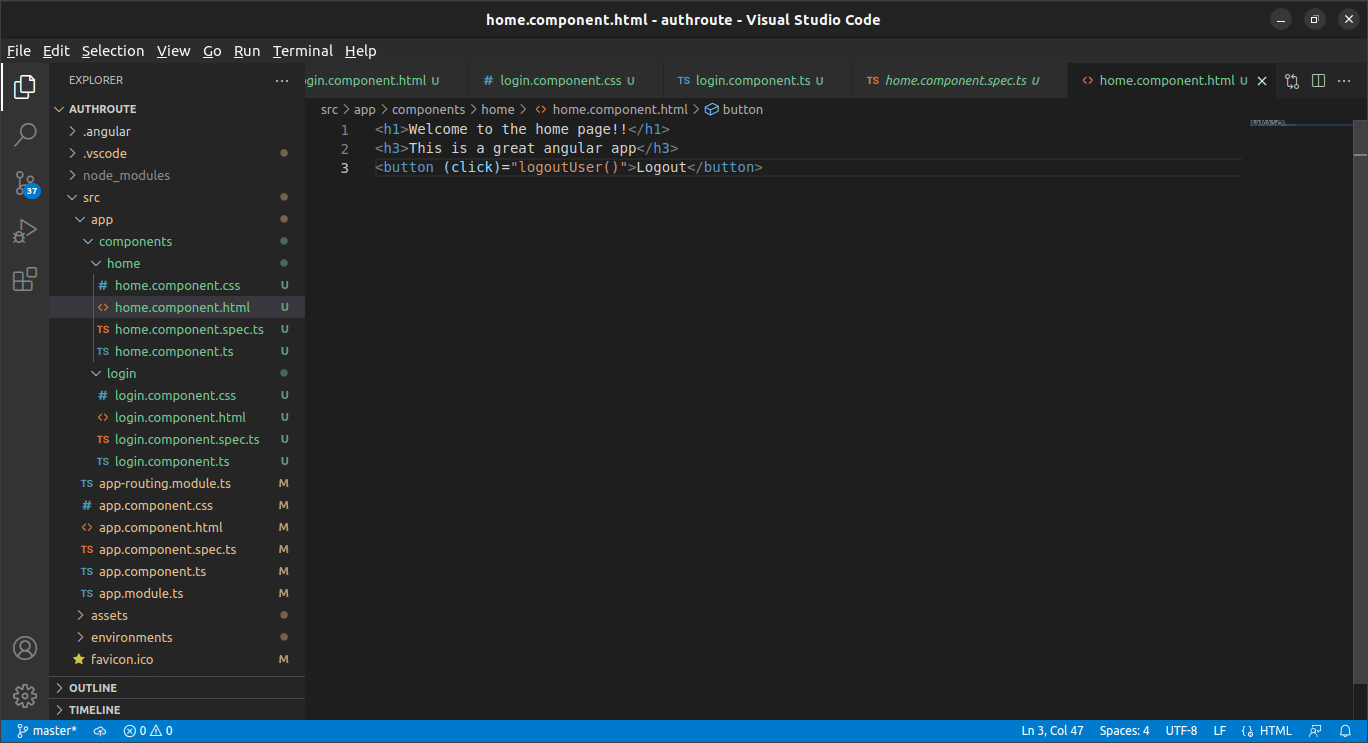
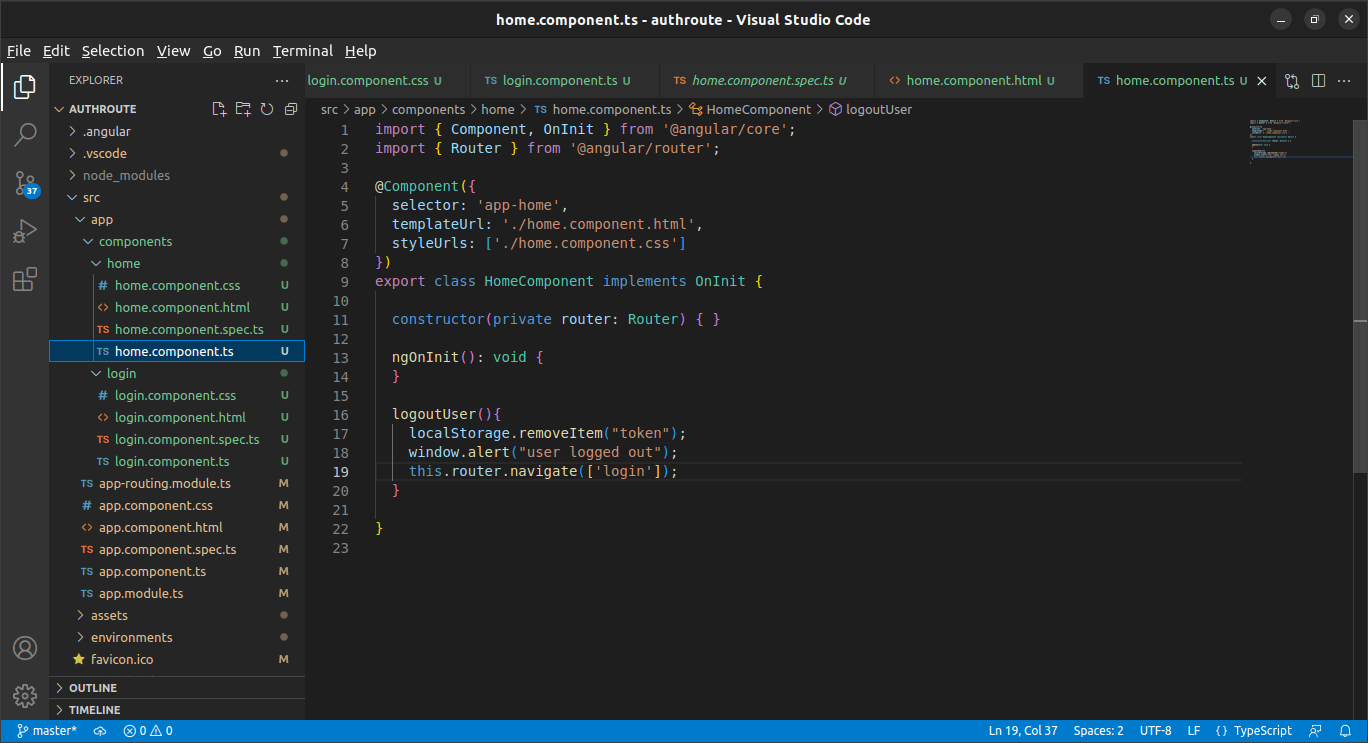
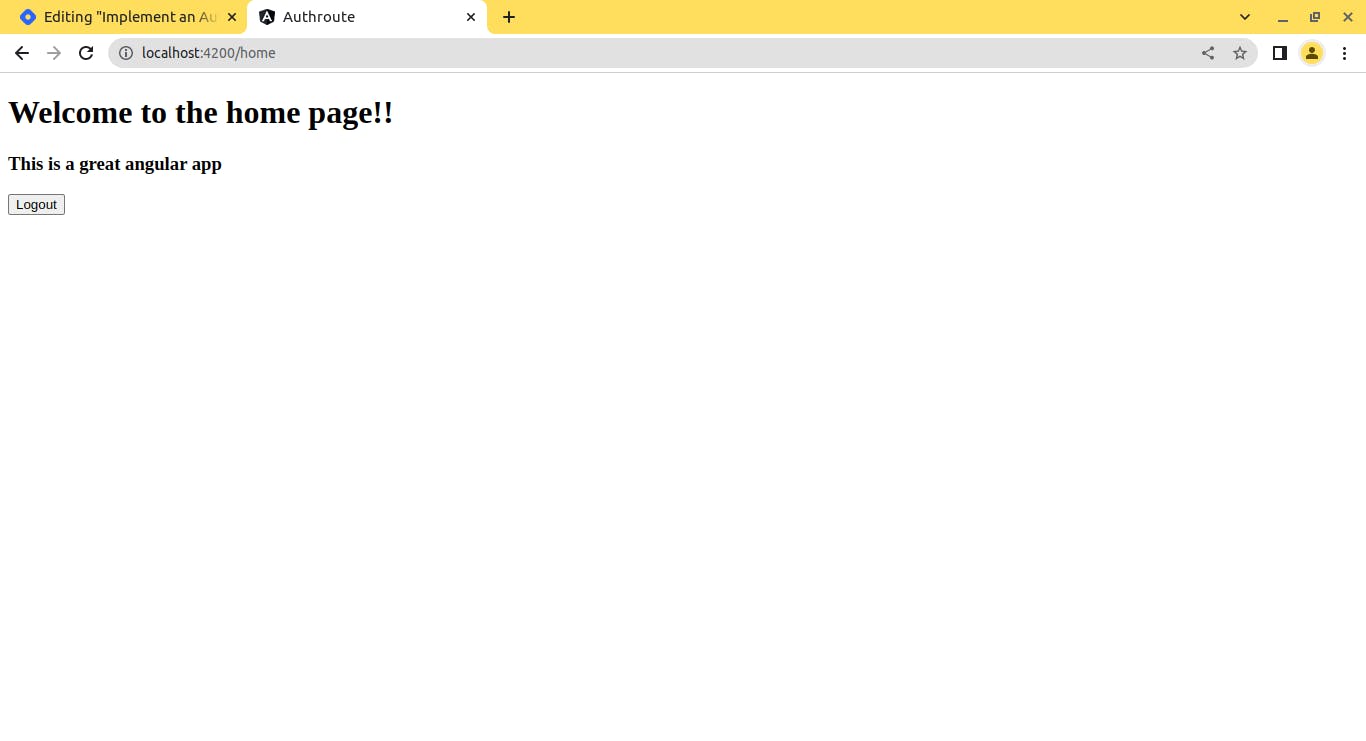
As it is obvious, logging in with the correct username and password will store a key value pair of token in localStorage and when the user clicks logout, the key value pair of token will be deleted from the localStorage.
Note: If you want to copy paste these components, you will find a link to a Github repo for this code at the end of the article.
Step 3: Now comes the real hard part(That's what she said) .. auth service
To protect the routes and write the functions and logic for the same, we need a service. To create this service we can use the angular command for creating services.
ng g service service/auth
This will create a service named auth inside app/service. Once this service is created, we will create a function to handle the logic that will determine whether the user should have the access or not. So create a function as below that will check whether there is a token stored in localStorage or not and will return true/false accordingly.
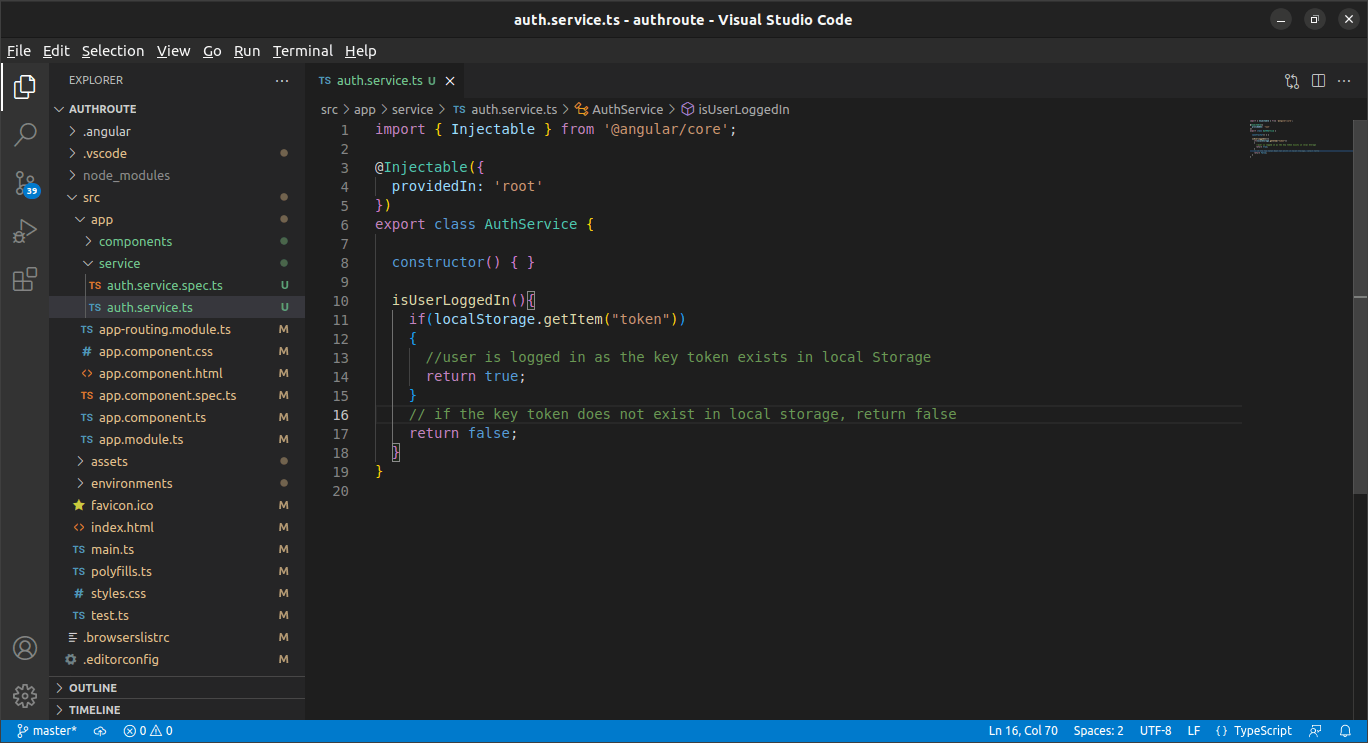
This function will later be used by the auth guard to determine if the user is allowed to access a route or not. For now, we will leave this and move ahead to our next step.
isUserLoggedIn(){
    if(localStorage.getItem("token"))
    {
      //user is logged in as the key token exists in local Storage
      return true;
    }
    // if the key token does not exist in local storage, return false
    return false;
  }
Step 4: Creating our auth guard
We will now create the center part of this complete machine. The auth guard that will handle the permission grant and revoke. To create a guard, run the below angular command.
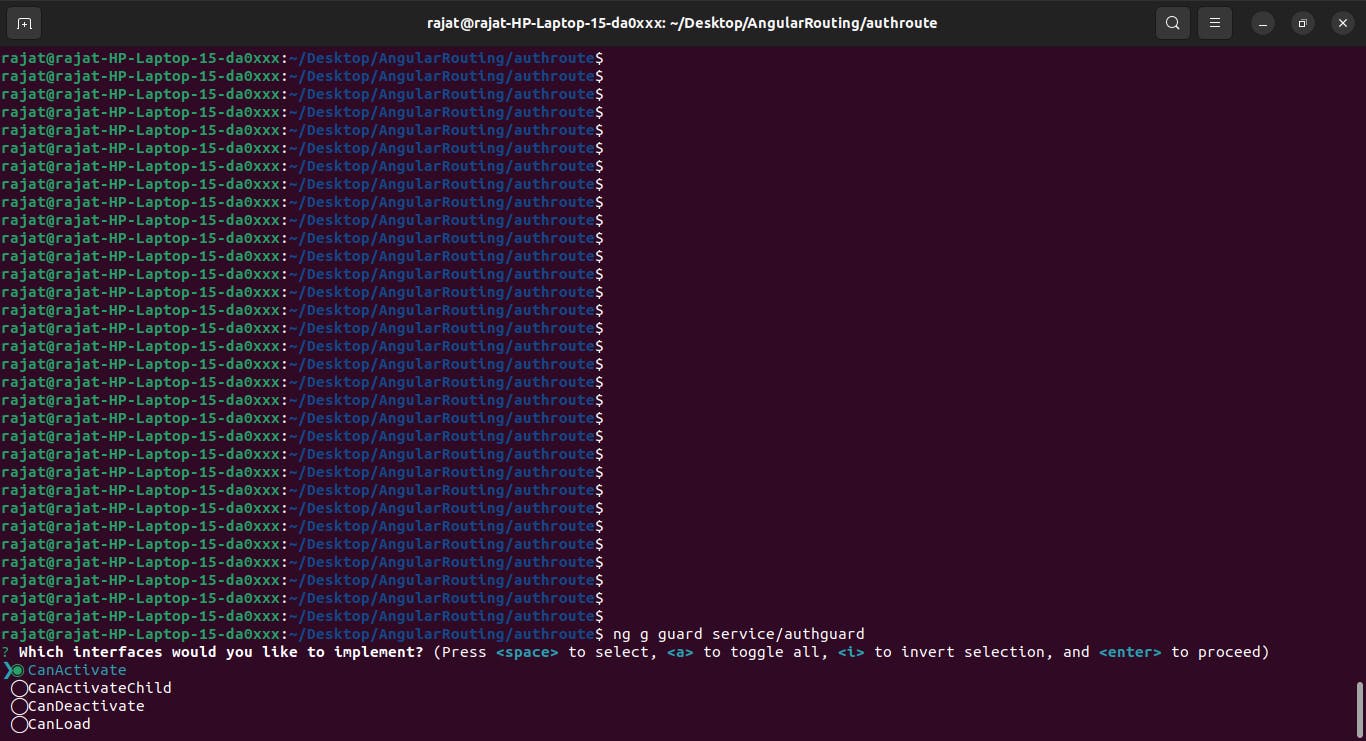
ng g guard service/authguard
While running this command, angular will ask you for the type of auth guard you need. Select the first option "canActivate". This will create a auth guard in the services folder with a canActivate function.
Select canActivate
This canActivate function will now make a call to the auth function we created in the auth service in Step 3. Based on the boolean value returned by that service function, the auth guard function will also return a true/false.
If this canActivate auth guard function return a true value, our user will be allowed to access that route, if it returns a false value, our user will be redirected to the login page. This canActivate function is thus the main handler in granting the user permissions to access a route. And as can be seen in the code, it depends on the auth service to determine whether the user is logged in or not.
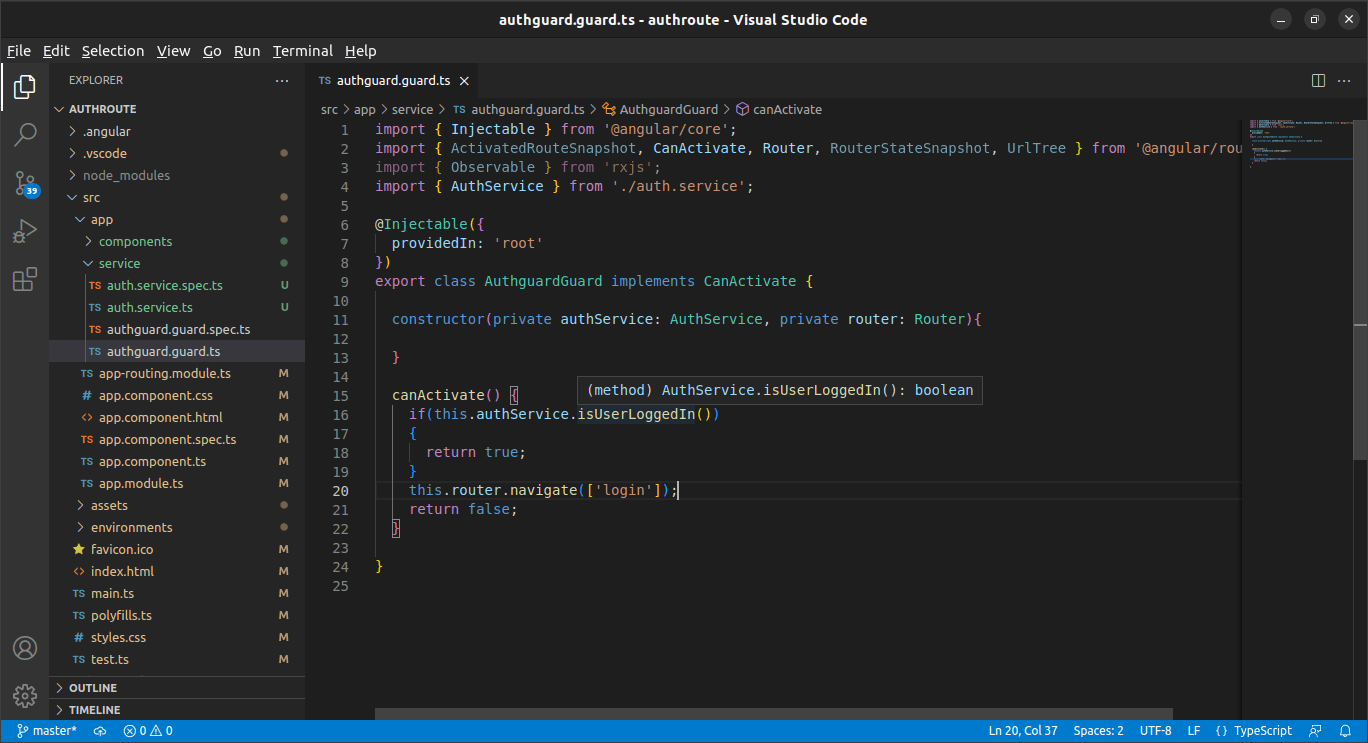
import { Injectable } from '@angular/core';
import { CanActivate, Router} from '@angular/router';
import { AuthService } from './auth.service';

@Injectable({
  providedIn: 'root'
})
export class AuthguardGuard implements CanActivate {

  constructor(private authService: AuthService, private router: Router){

  }

  canActivate() {
    if(this.authService.isUserLoggedIn())
    {
      return true;
    }
    this.router.navigate(['login']);
    return false;
  }

}
Step 5: Adding the canActivate to our routes
Now that all the heavy lifting is done and the way ahead is clear, we will go ahead and add this canActivate guard to our routes. Go to the app route file and add the guards as shown below. The highlighted lines are the new addition to include the auth guards to the home route.

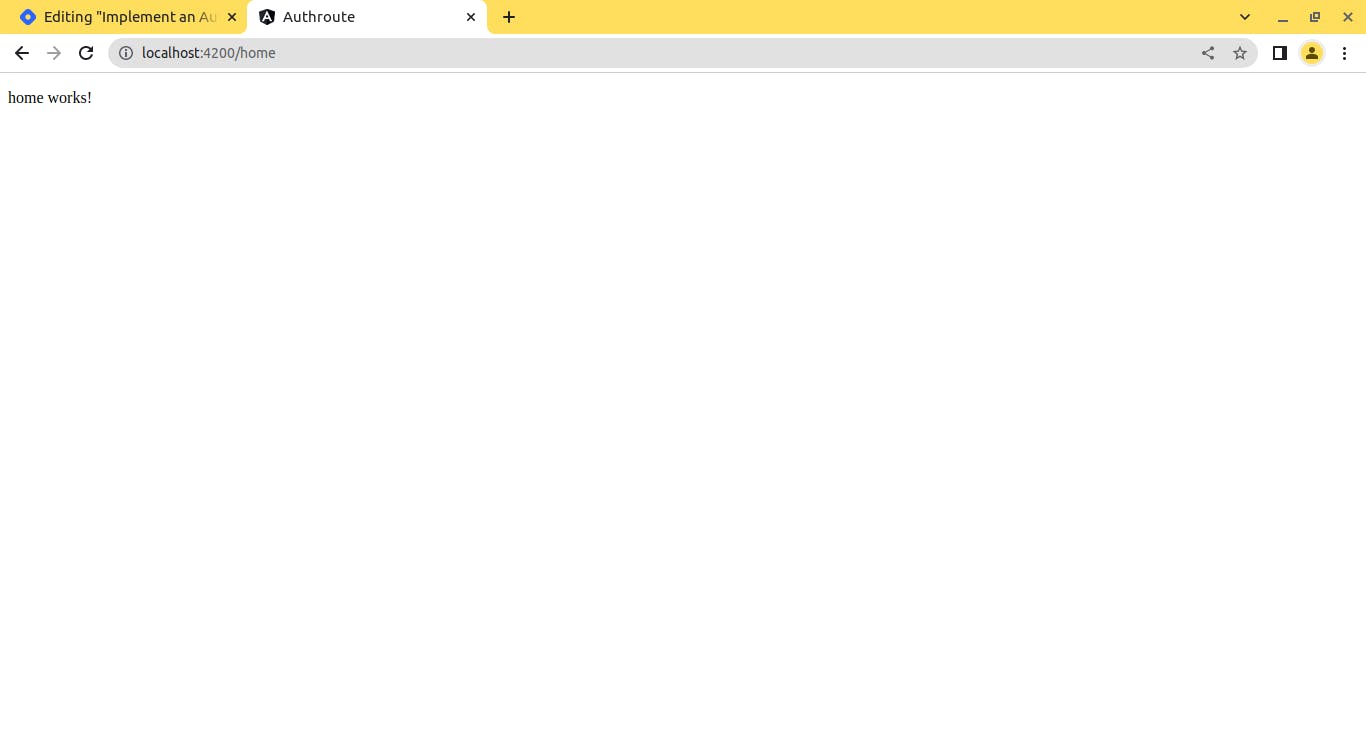
If you now visit your home page with logging in, you will be redirected to the login page and after logging in, you can access the home page. Once you logout, you will again by redirected to the login page and the home page will become inaccessible. Check the below video to see the live action! Code on GitHub: Repo Link

You can now protect your routes in angular easily, but I still cannot guarantee about the ice cream in your refrigerator.
Rajat Upadhyay
All I can do is be me, whoever that is.